Nintendo Switch Decal
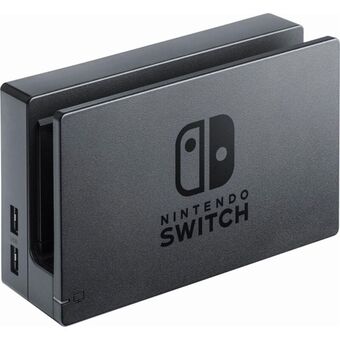
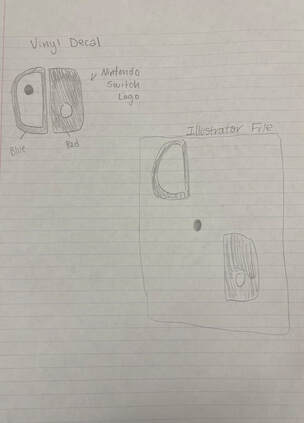
For this project, I knew exactly what I wanted to create. I got the idea for this decal after looking at the Nintendo switch dock on my desk. I noticed that the logo on the front of the dock consists of dark gray and black colors. I thought that sticking a colorful decal on this logo would make it pop out a bit more. With this in mind, I went to my designer notebook to start sketching.
|
|
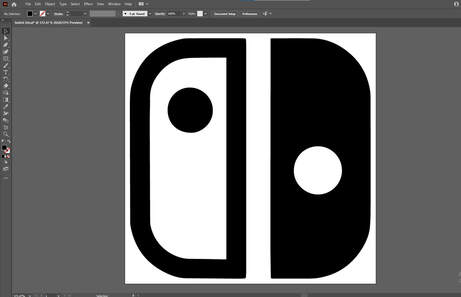
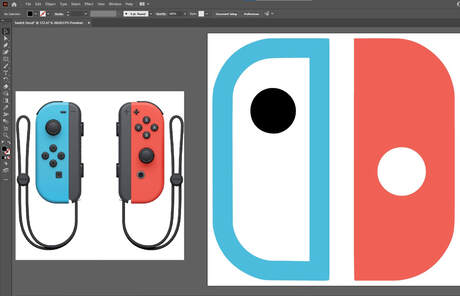
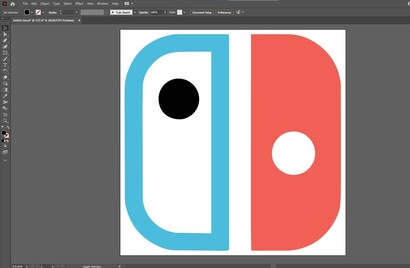
Once my ideas were sketched out, I opened Illustrator to start working on my design. First, I copied an image of the Nintendo switch logo from the internet and pasted it in the workspace. After that, I resized the image so that it would fit over the logo on the switch dock. I did this by changing the dimensions to 1.5 inches by 1.5 inches. Next, I changed the colors of the logo so that it would match the colors of my joy cons (controllers). I did this by using the eye dropper tool.
|
|
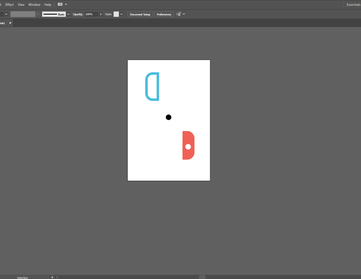
I thought that my design was finished at this point, but I still had to separate the design so that the different colors could be printed out on the vinyl cutter. To do this, I ungrouped the blue, red, and black parts and placed them one by one from top to bottom in the workspace.
|
|
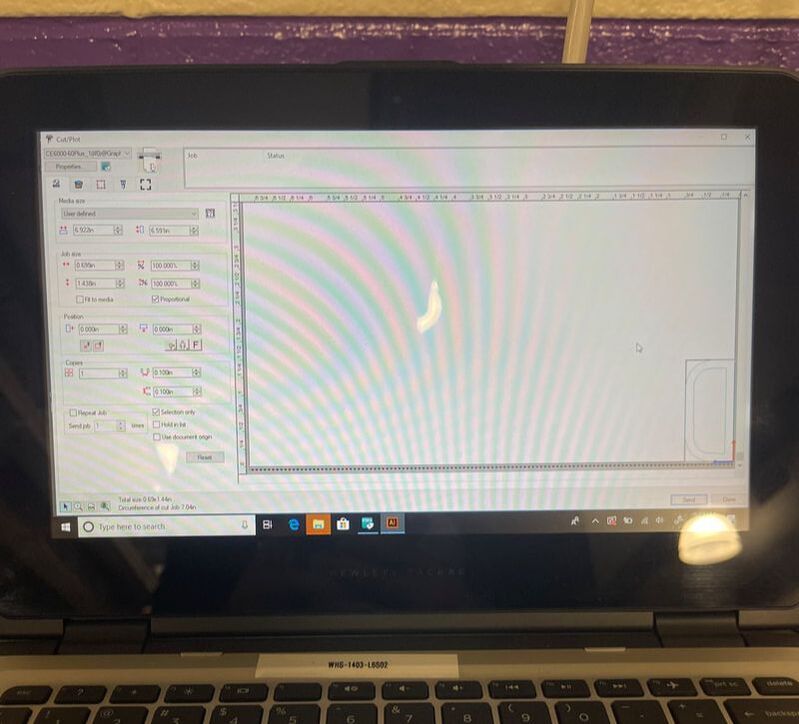
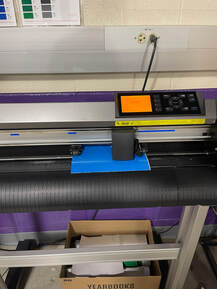
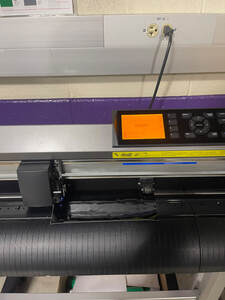
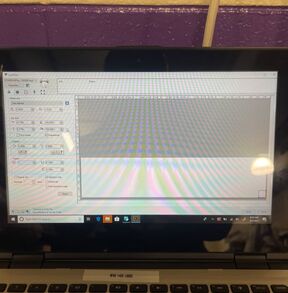
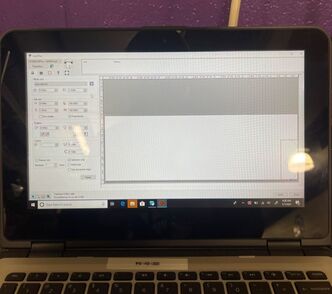
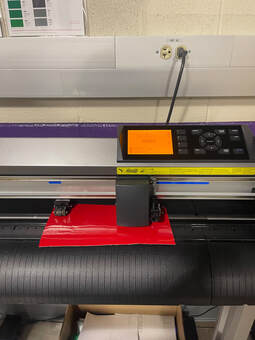
Next I copied my decal Illustrator file to my flash drive and headed down to the vinyl cutter. I brought my file up on the laptop in the innovation center and selected the blue piece of my decal. Then I inserted a light blue sheet of vinyl into the cutter and had the cutter measure its dimensions. Finally, I selected "Cutting Master 4" from within the menus of Illustrator and sent my file through the cutter. I repeated this process for the other two parts, just swapping out the sheets of vinyl.
|
|
|
|
|
|
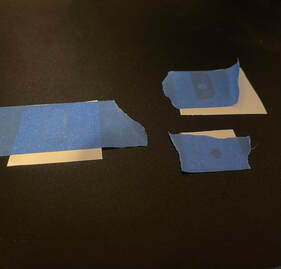
Once all the parts of my decal were cut out, I took them to the table in the innovation center and weeded out the excess material. After that, there was no time left in class so I brought my decal home.
|

|
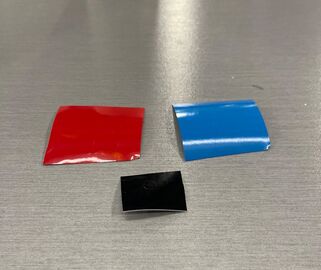
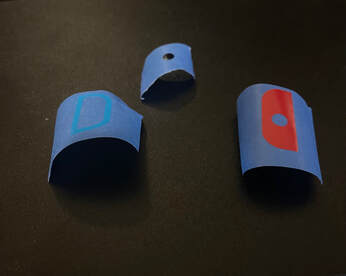
After bringing my decal home, I started the process of applying it on my Nintendo Switch dock. First, I placed some tape over the separate parts of my decal and used a credit card to firmly press on each part of the decal. Next I peeled the decal off with the tape. Finally, I applied my decal on the switch by flattening the tape over the dock and peeling it away.
|
|

|
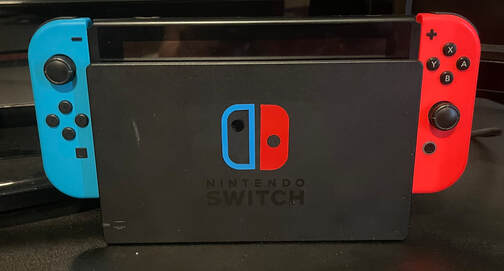
Final Product
Summary
|
Through this project, I learned how to change the color of objects in Illustrator. I also learned how to cut out decals on the vinyl, and I learned to be more persistent and focused when applying smaller decals. In the end, I liked this project because my decal looks great on the switch dock.
|
