Notepad Covers
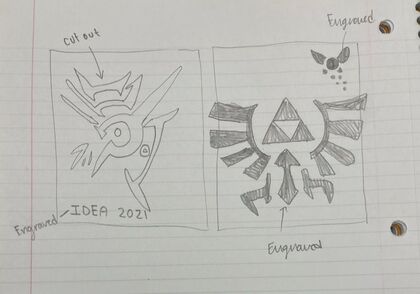
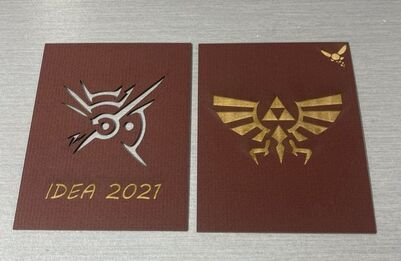
To start this project, I started brainstorming about what I would want on notepad covers. I thought about doing something baseball related, but I already did something along those lines on the key chain I made previously. I continued to think about what I'm interested in and what would look cool on a notepad. Then, I came up with the idea to use some designs from video games I really enjoy. The first design I knew I was going to use was "the mark of the Outsider" from a game called Dishonored. In the game, the mark gives the players magical abilities, and I just think that it looks cool. The second design I knew I was going to use was the Triforce from The Legend of Zelda series. I then illustrated my ideas in a sketch.
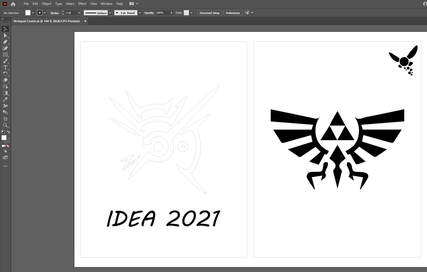
After sketching my ideas, I headed to Adobe Illustrator to put my ideas in a printable file. First, I placed red rectangles in the workspace, each one representing a cover. After that, I found images of the designs I wanted from the internet an placed them in the workspace as you can see below.
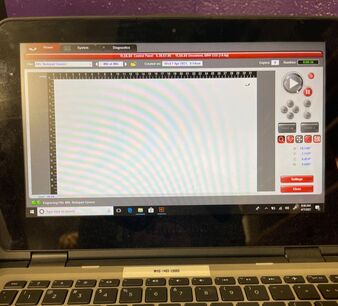
Once I completed the Illustrator file, I copied it to my flash drive and took it to the laser. I pulled up both my file and the UCP software on the laser printer laptop. I changed the material to mat board, made sure the laser speed was around 16%, and lined up the laser with my mat board. Once everything was set up, all had to do was start the laser.
|
|
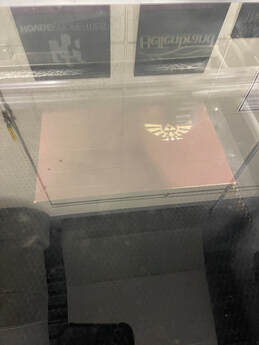
The printing did not take very long, as I got to take my finished notepad covers out of the laser printer around two minutes later. This is what they look like:
Water Bottle
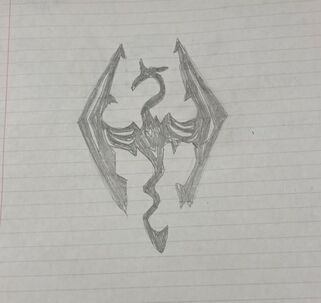
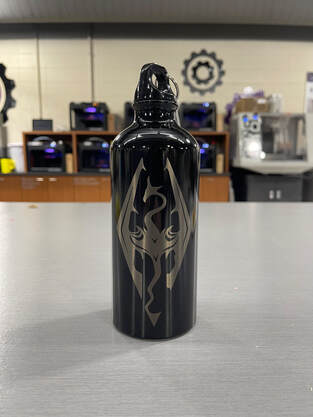
At the start of my water bottle project, I knew exactly what design I wanted to engrave on my water bottle. This design would be the logo of one of my favorite video games, The Elder Scrolls V: Skyrim. Since you play as a dragon-fighting warrior in this game, the logo displays a design of a dragon. Once I had the idea clear in my head, I created a sketch.
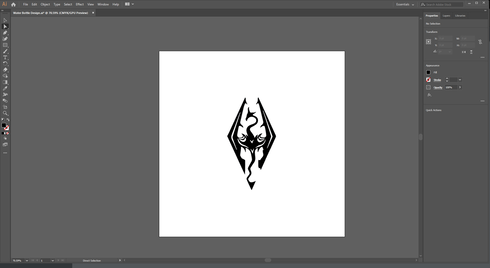
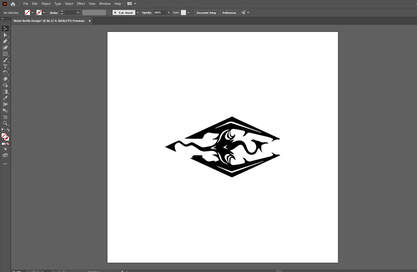
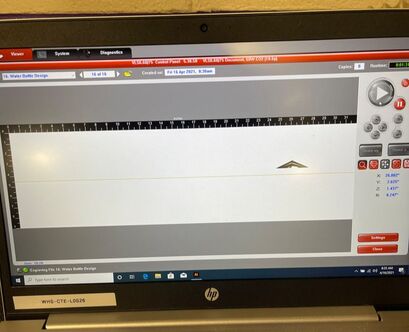
Once I completed my sketch, I opened Illustrator to set my design in stone. Completing this Illustrator file was much simpler than completing my notepad cover file. All I had to do was find a black and white image of a Skyrim design and paste it in the workspace. After that, I resized it to fit on the water bottle, expanded it, and rotated it 90 degrees clockwise.
|
|
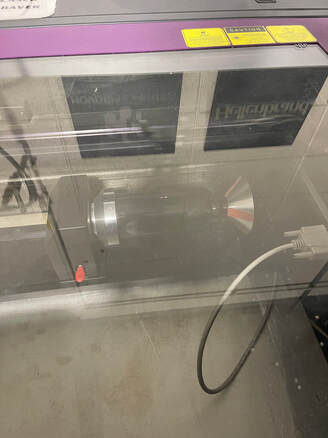
After completing my design on Illustrator, I downloaded the Illustrator file to my flash drive. Then I went down to the laser and grabbed a black water bottle and secured it in the rotary jig. Next I plugged in my flash drive and setup the print by changing the material to anodized metal, the fixture type to rotary, and the material diameter to 2.875 inches. Finally, I began printing after using the focus and relocation tools to line up my design and the laser with the bottle.
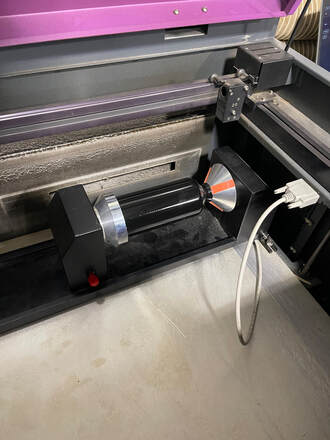
|
|
|
The printing process took around 5 to 6 minutes to complete. Once I took my finished project out of the laser, I was surprised by how great it looked. I think my design looks really good on the black water bottle. Here is a picture of the final product:
Summary
|
I learned quite a bit from this individual laser project. First, I learned how to use different materials in the laser. I now know where to find all the materials in the laser software, and I also now how the speed of the laser will affect the final print. I also learned how to replace the flat bed in the laser with the rotary jig. There is still much more to learn about the laser, but I am happy with what I have learned in such a short time.
|
