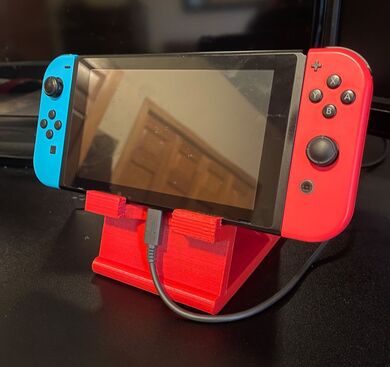
Nintendo Switch Stand
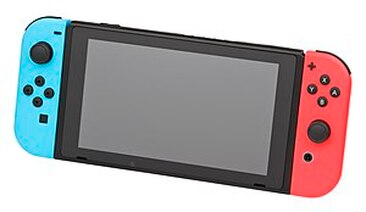
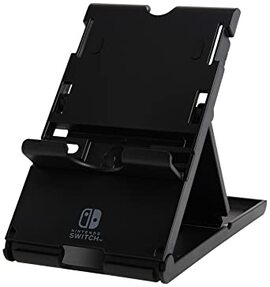
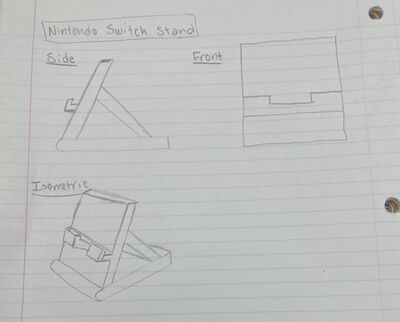
At the start of this project, I was given the option to design and print a phone holder, a toothbrush holder, a small organizational device, or a device that organizes earbuds. I chose to create a Nintendo switch stand because it will be very similar to a phone holder. I first measured my Nintendo switch and looked at some reference images online. The switch turned out to be about 4 inches tall, 9.4 inches long (6 inches without the joy cons), and about 1/2 inch wide. After getting a rough idea of the dimensions and what a good stand would look like, I sketched out my ideas.
|
|
|
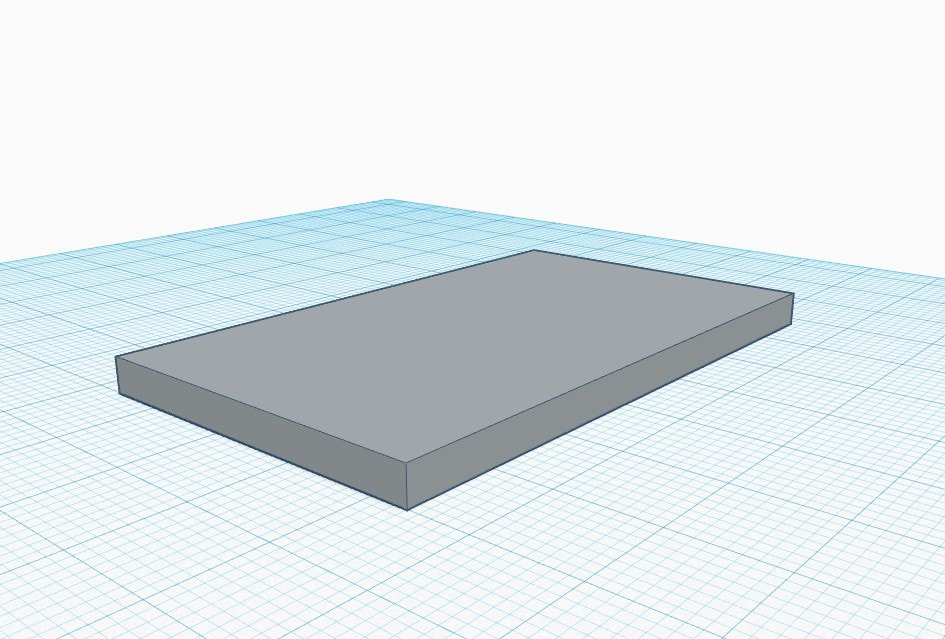
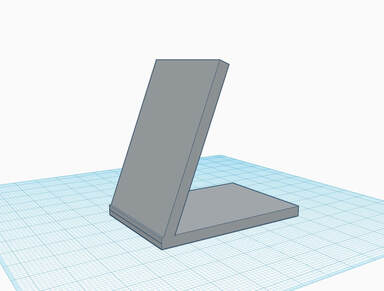
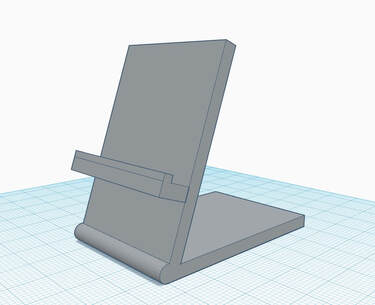
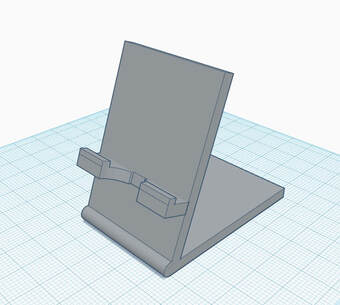
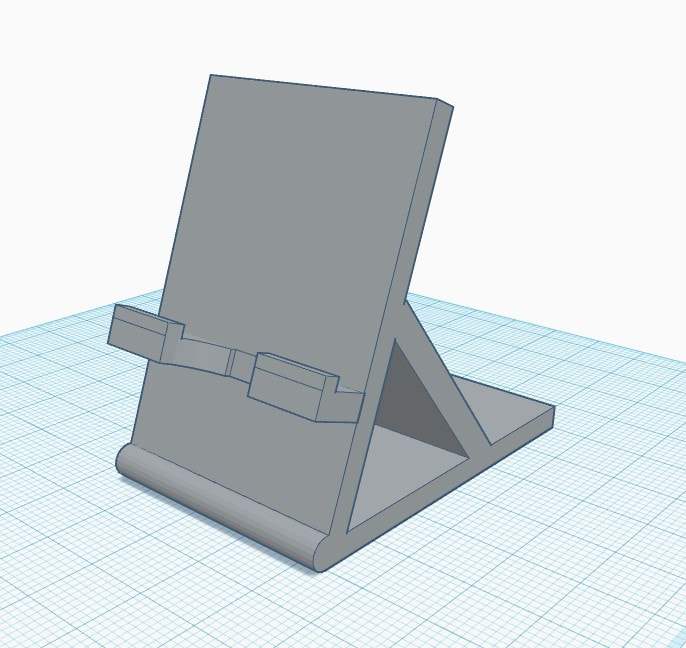
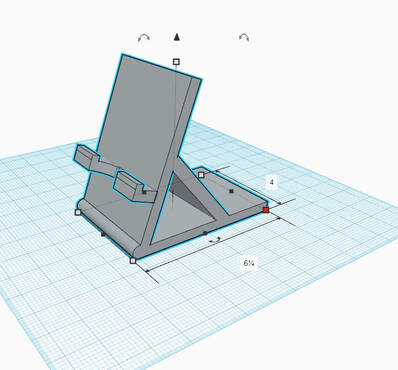
Once I completed all my research and sketches, I went to Tinkercad and started 3D modeling. First, I started with two rectangular pieces, each one being 1/2 inch thick, 4 inches wide, and 6 inches long. I placed one of the rectangles flat on the ground and then I angled the other one on top of the previous piece. After doing this, I realized that the two pieces did not line up evenly on the front of the design. To resolve this issue, I created a cylinder and grouped it in between the two rectangles.
|
|

|
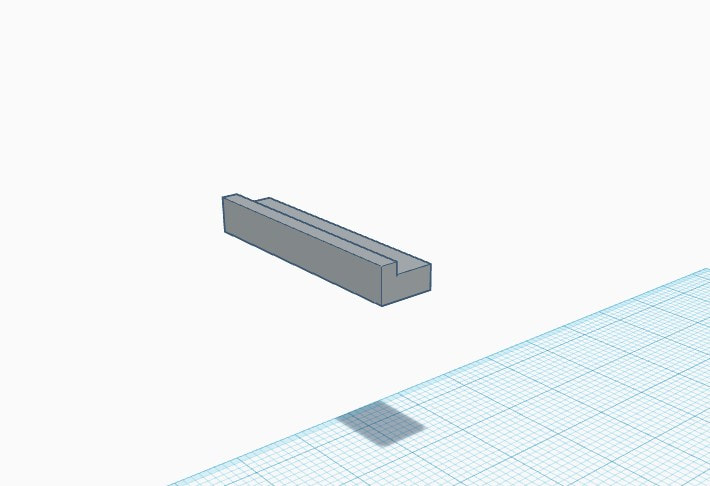
Next, I moved on to making the part that the Switch would rest on. I started with a rectangular piece about an inch wide and 4 inches long. Then I placed another small rectangular piece on top of the previous piece that would secure the switch in place. Finally, I grouped this new piece with the rest of my stand and used the hole tool to remove a chunk of the design for wire management.
|
|
|
My stand was nearly finished at this point, but I wanted to add some extra support. Therefore, I made one final rectangular piece and placed it in between the base of my stand and angled part. Once I was finished with my design, however, I realized that my design was too big. For this class, your design must fit in a 5 by 5 by 5 inch space. With this is mind, I just selected my whole project and changed the dimensions so that it would fit this criteria.
|
|

|
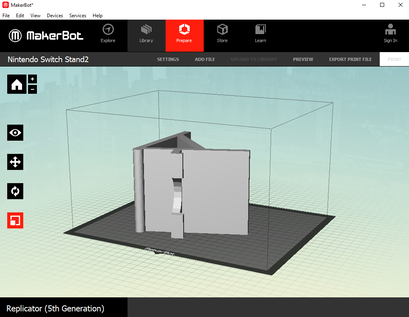
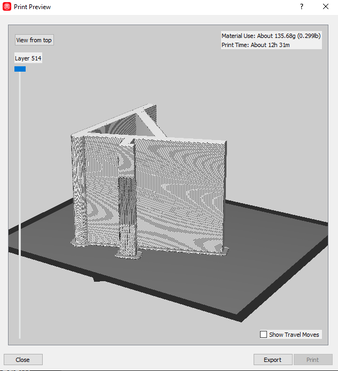
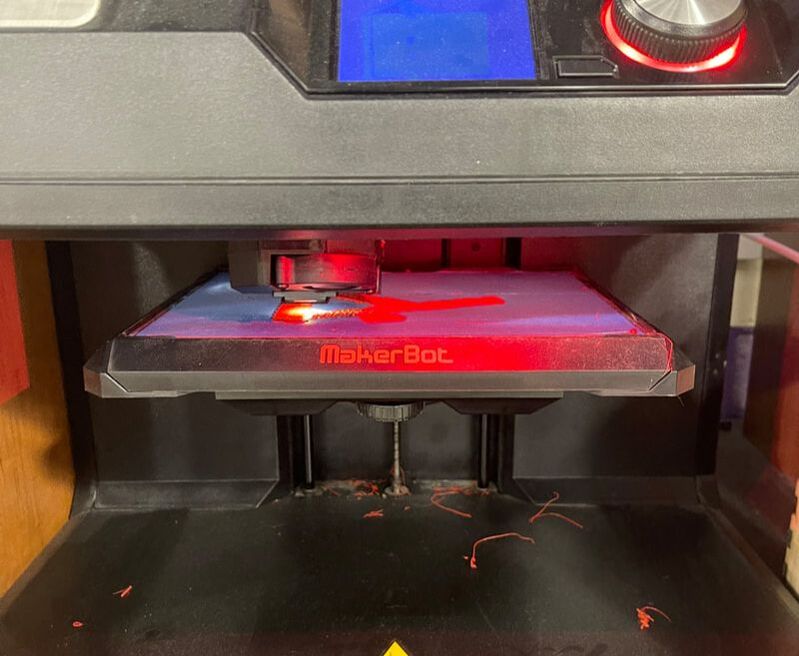
Now that I completed my design, I converted the file into an stl file and uploaded it in MakerBot. I made sure the dimensions were correct (which they were), and I flipped the design on its side to limit the number of supports printed. Next I opened the preview window to check what my print would look like and how long it would take. The print looked good and MakerBot showed that the print would take around 12 hours. After checking the preview, I copied the MakerBot file to my flash drive and started printing my design in the innovation center.
|
|
|
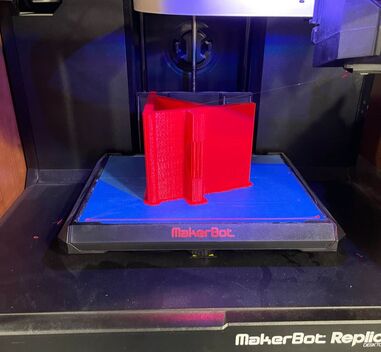
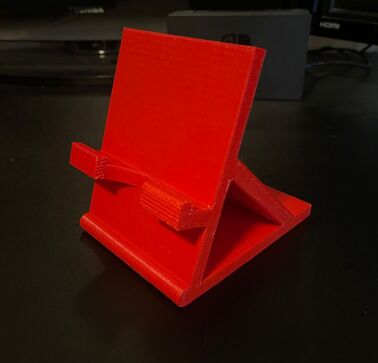
I came back the next day to remove my stand from the printer. I tore off the base plate and the supports and was happy with how the stand turned out. The stand works very well with both phones and my Nintendo Switch, so this print was a success.
|
|
|
Summary
|
During this project, I learned how to implement supports into my 3D print designs. I also learned how to apply the measurements I took when using Tinkercad. Finally, I learned how to use the hole and grouping tools more effectively in Tinkercad. I really enjoyed this project because I designed and printed something that I will use pretty often.
|
